
AI GitHub
ESPHomeBrew
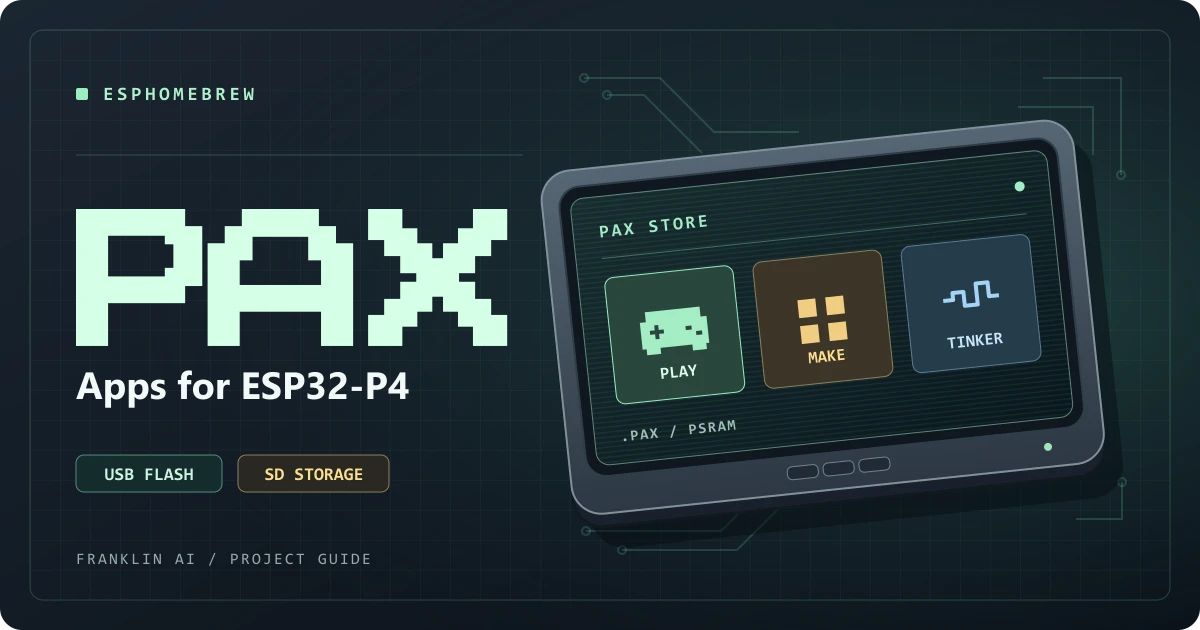
Flash PAX onto a compatible ESP32-P4 board and load retro games, emulators and creative tools from SD. Start by matching your chip and display.
Key Takeaways
- The Waveshare Touch-LCD-7B image targets ESP32-P4 revision 3.
- Use desktop Chrome or Edge and a USB data cable connected to the board’s programming port.
- Doom and Quake are good first installs because the store supplies the shareware game data.
- A .pax file is a native RISC-V program the loader runs from PSRAM, the board’s external RAM.
Open PAX installer · Browse apps
Check the board before you flash
The Waveshare Touch-LCD-7B image targets ESP32-P4 revision 3. The other images in the installer target early revision 0 or 1. Check the chip revision in your board’s boot log and match the exact model and display profile. The original Waveshare ESP32-P4-WIFI6 and the integrated Touch-LCD-7B have separate images.
Treat the public firmware as experimental. The installer records a PAX display and launcher test on the Waveshare P4-NANO with a 4.3-inch Raspberry Pi DSI panel, along with SD and Ethernet checks. Elecrow AIO has had SD transfer testing, with its public display check pending. Read the notes for your specific profile before flashing.
Check current board profiles and test status
Flash PAX and set up storage
Use desktop Chrome or Edge and a USB data cable connected to the board’s programming port. Have a FAT32 or exFAT SD card ready.
- Flash the matching image. Select your board and display in the installer, acknowledge the revision check, then choose Connect & install and select its serial port. Review the erase option before proceeding. Erasing clears saved settings. If the port fails to connect, the installer documents the BOOT and RESET sequence and offers a board-specific offline flash kit.
- Put the starter on the SD card. After network setup, choose Visit device and Install SD starter. You can also download the starter for your profile and extract it to the card’s root. The launcher should land at
/roms/pax/launcher_ui.pax. - Open STORAGE. Restart with the card inserted and select STORAGE in the boot menu. On a USB keyboard, use Tab or the arrow keys to move and Enter or Space to select. A gamepad or touchscreen can also work on supported profiles.
Open the installer’s connection instructions
Pick a first app
Doom and Quake are good first installs because the store supplies the shareware game data. For emulators, check the listing for the required files and SD paths. For example, Atari 800 looks for a compatible disk or program image under /sd/roms/atari800/.
- Check touch and orientation. Touch Test puts a marker in each corner and a crosshair under your finger.
- Make something on the panel. Scratch pairs a touch block editor with a Scratch 3 project player. Workspace offers VNC, dashboards and media browsing.
- Try a larger port. Red Alert supports LAN multiplayer with PCs running Vanilla Conquer and needs its own
REDALERT.MIXandMAIN.MIXgame files.
In the PAX Store, you can transfer apps over USB serial without Wi-Fi using current PAX firmware, or enter the device’s local IP address to continue on its Wi-Fi setup page. Leave the SD card inserted and close any running app before you transfer.
Explore apps and game-data requirements
Build a PAX app
A .pax file is a native RISC-V program the loader runs from PSRAM, the board’s external RAM. After the initial firmware flash, you can add apps without reflashing the board. In the source tree, each app has an apps/APP_NAME/pax.json manifest that tells the build system how to package it.
Try it for your workflow
Explore the project’s documentation for setup and usage, or save this page to a collection for later.
Read the project documentation ↗